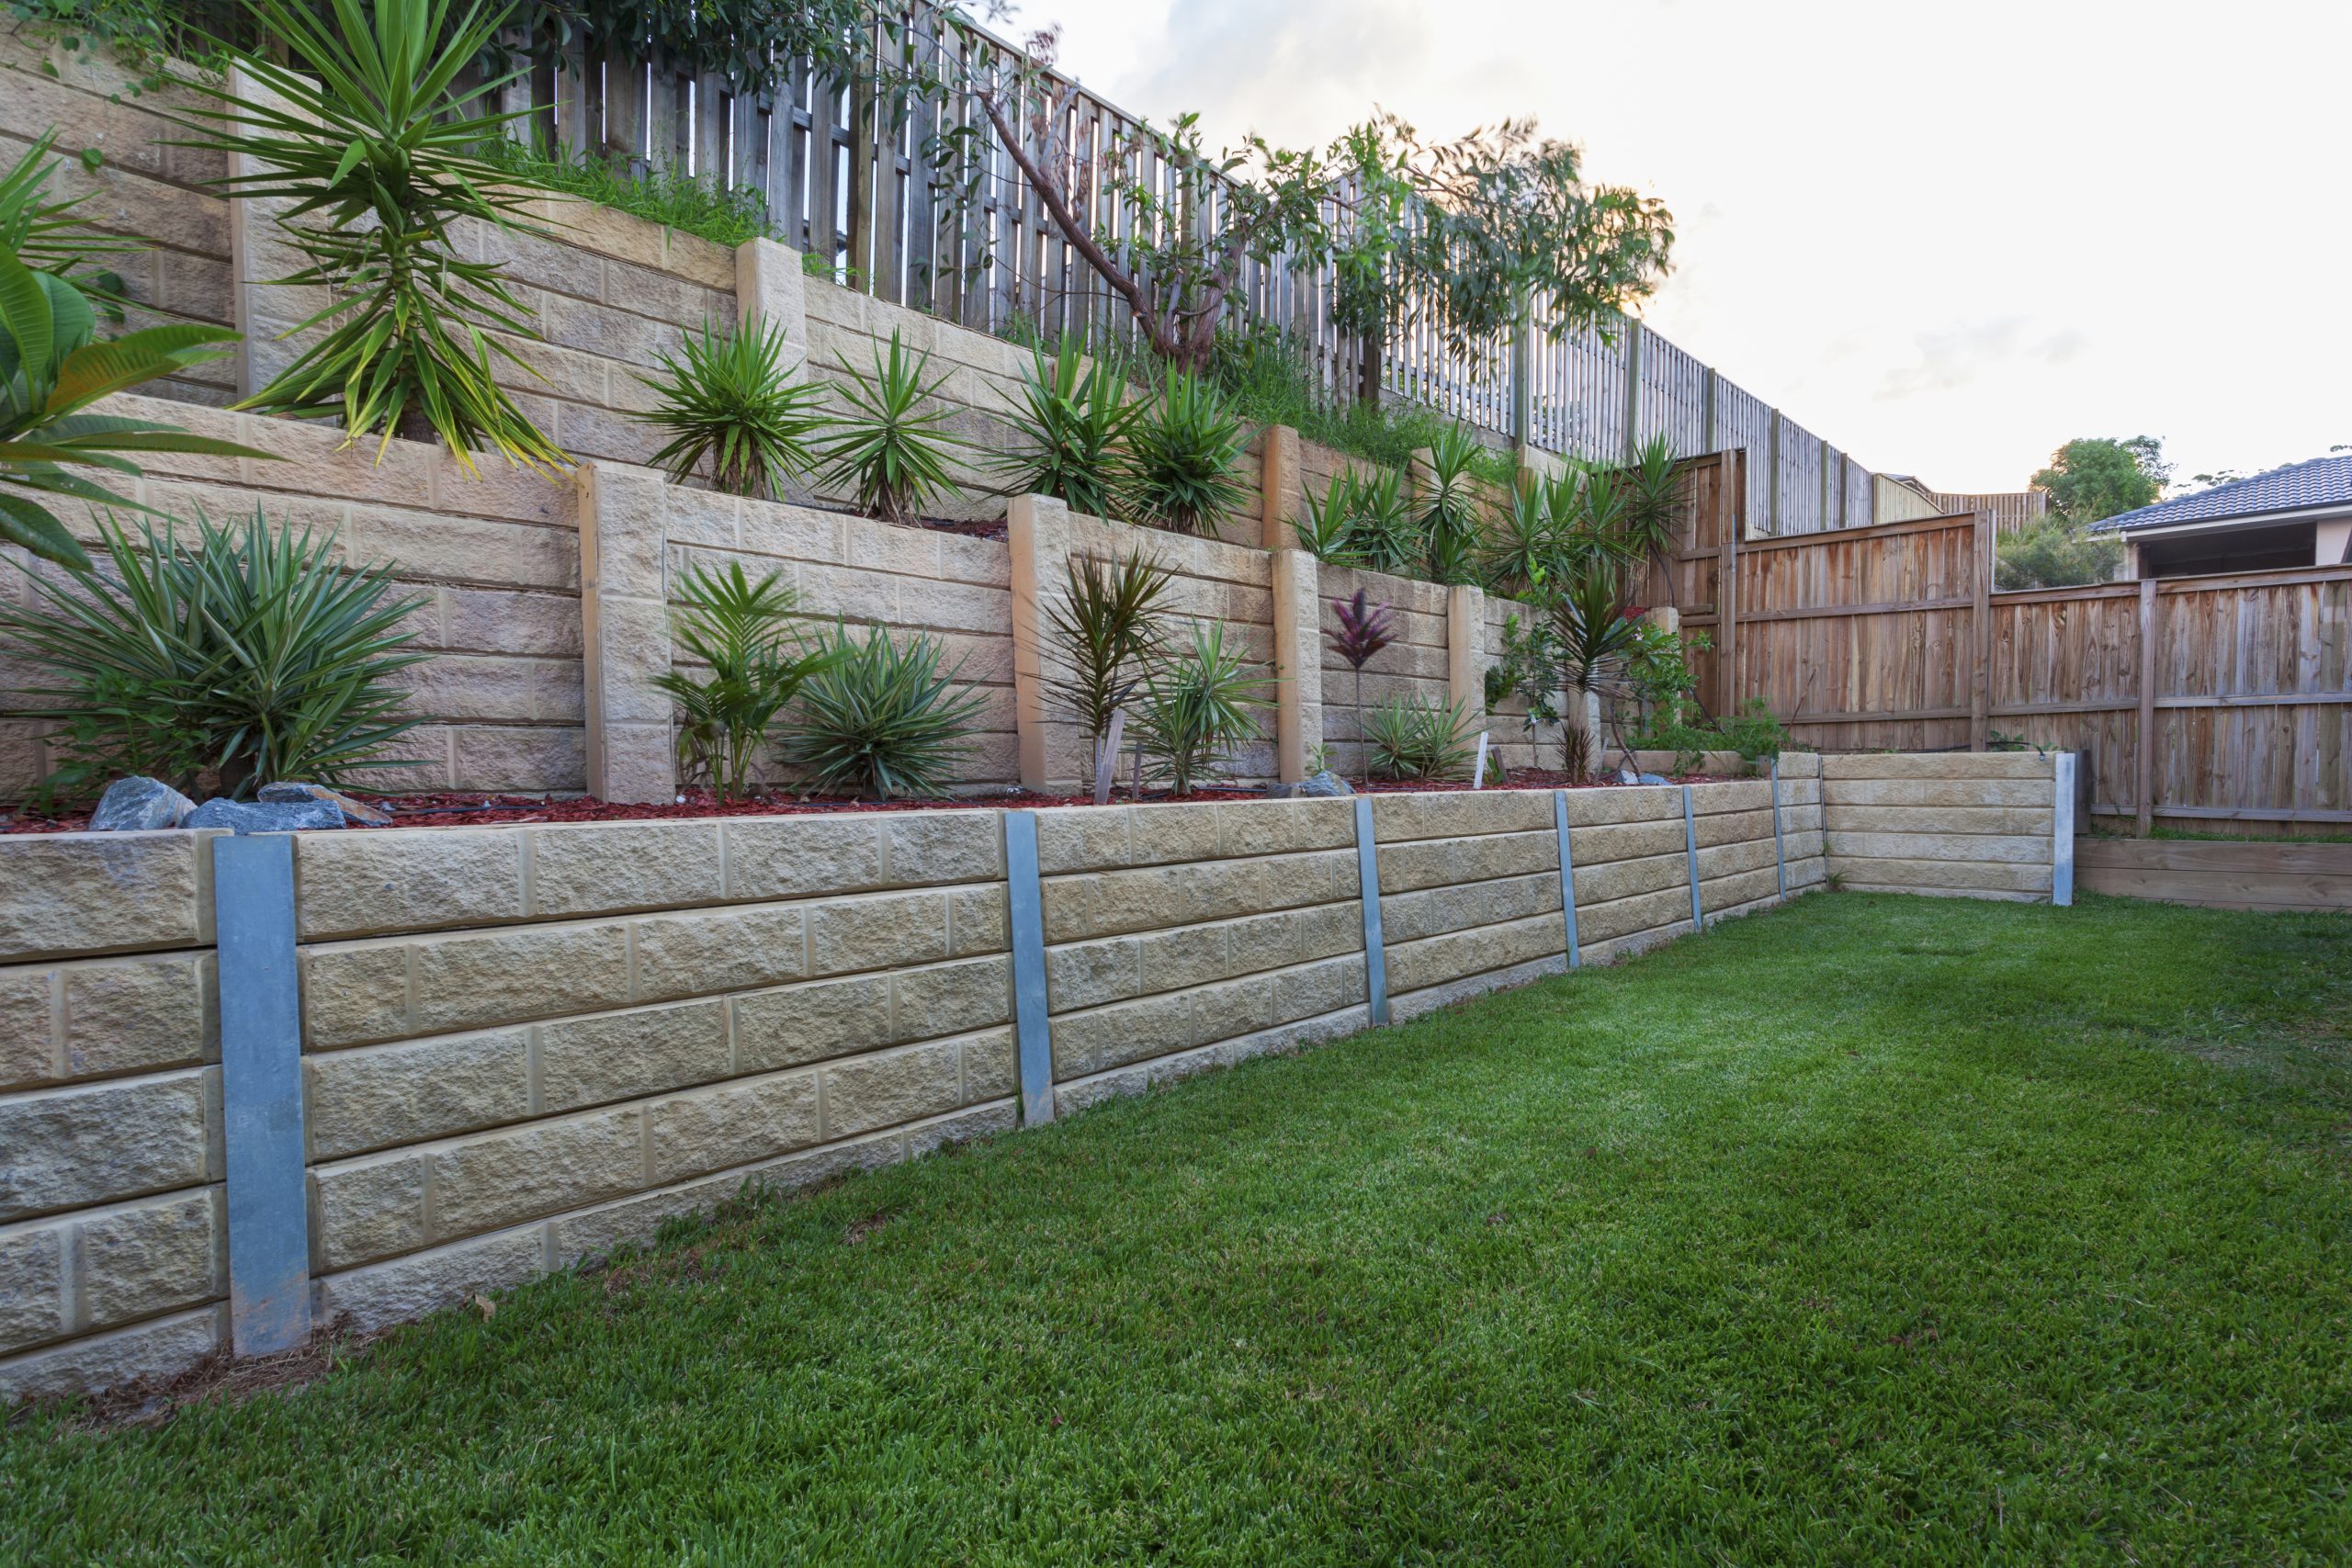
 Retaining walls can add beauty to a landscape and enhance the value of a property. In addition, the wall can retain slopes to create usable, level ground. For stability, all large retaining walls should be constructed with approved plans and permits. Before beginning construction, it’s important to secure approved plans, permits and contact Ms. Utility. How to build retaining walls, can benefit you, your family and home’s appearance.
Plans
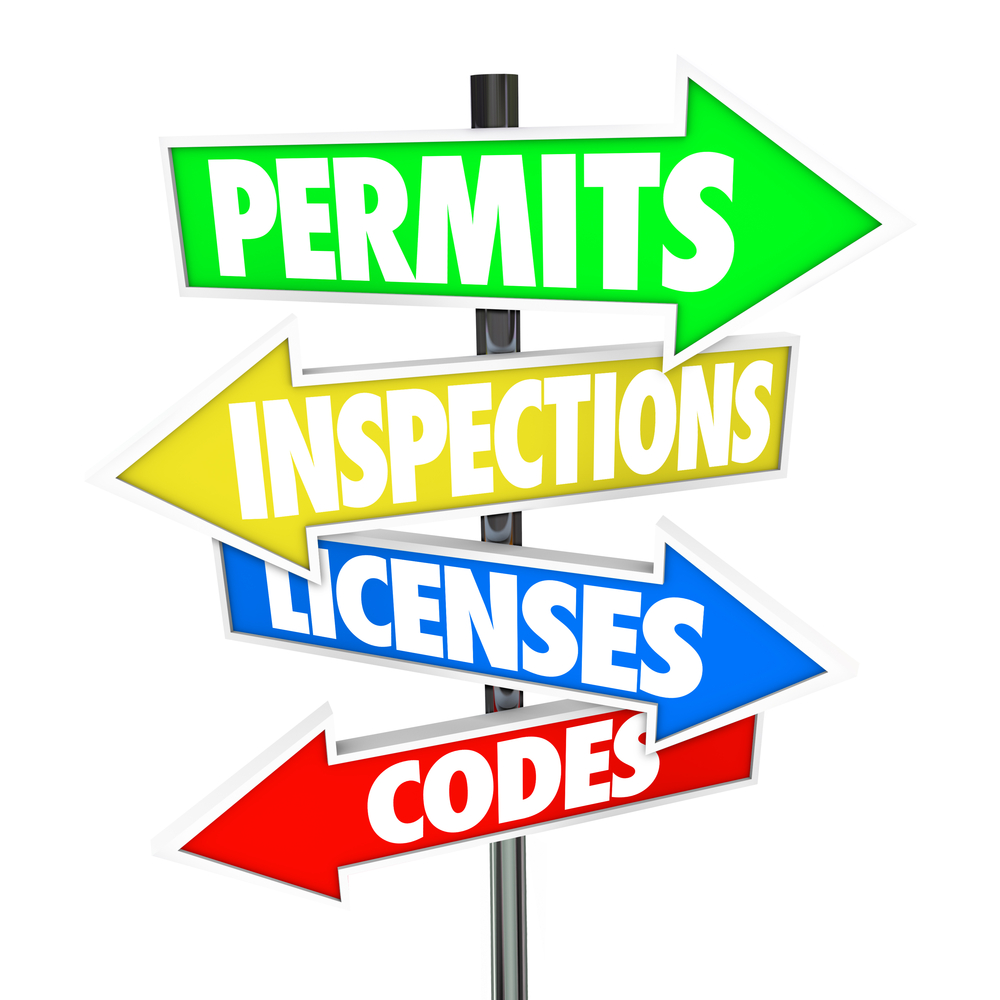
For retaining walls taller than 3 to 4 feet, building codes generally require a building permit and structural wall design. These wall designs are prepared by a qualified licensed professional engineer. Professional engineers (P.E.) licensed in the state of the project must prepare these final wall designs. Some jurisdictions require the wall engineering plans to be provided engineered approved, as part of the retaining wall construction package (design/build). In such a case, the designer provides the retaining wall product type, location, layout, grading and soils information. With the plans complete, the P.E. will affix his professional stamp to the plans.
Permits
If you are considering having a retaining wall built on your property, you’re probably wondering if you will need to file for a permit. As a general rule when remodeling your home or property, a permit is usually required. Permits are granted for additions, alterations or when new construction is involved. When building a retaining wall, your local building department can inform you if an engineering plan is needed for the project.
Contractor Selection
Bidding contractors estimate the materials, labor and final engineering costs. When a contractor is awarded the project, they may be required to retain a qualified, licensed engineer to provide on site inspections during the construction phase. This may require a final stamped engineer’s report with wall completion.
Ms. Utility
811 is the national call-before-you-dig phone number. Anyone who plans to dig should call 811 or go to their state 811 center’s website a few business days before digging to request that the approximate location of buried utilities be marked with paint or flags so that you don’t unintentionally dig into an underground utility line.
Excavation
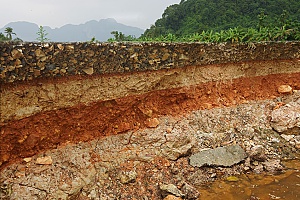
The depth you need to excavate depends on frost depth as well as the wall and soil type for your locality. Check with your building department for retaining wall requirements.
Types of Walls
- Mortared or concrete walls in heavy-frost areas require footings dug below the frost line.
- Nonmortared walls should be built on a gravel-filled trench dug below frost line.
If you live where it doesn’t freeze and your soil drains well, you may be able to just scrape away topsoil to form a base for nonmortared walls.
Dump Truck Haul Off
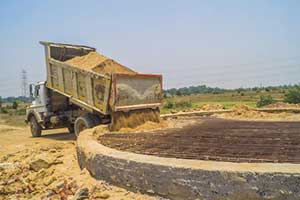
When excavating for a retaining wall, you will often generate fill dirt, that will need to be hauled off site.
Dirt Swell Rate
The volume of excavated soil will increase from its natural state(bank) to its disturbed state (loose). Excavating soil and piling it up will loosen it and the volume will increase. This is due to void spaces/air pockets added to the material (loosened material). If you need to remove the excavated material it would help to know the swell percentage for the soil you are excavating. I use 1.2 times the excavated material quantity.
Dump Truck Hauling
On an average of 12 cubic yards hauling capacity should be allotted for each dump truck.
Footings & Foundations
Shallow vs. Deep Footings
Footings are generally classified according to whether they are shallow or deep. The depth of deep footing is equal to or greater than its width.
- Shallow footing can be used when constructing retaining walls on soil that is strong enough to bear their loads.
- Deep footings are required when constructing walls on soil of a low load-bearing capacity.
Retaining wall footings can be comprised of plain concrete, reinforced concrete, or masonry, and cover a large surface area in order to distribute the full weight of the wall to the soil.
Retaining Wall Blocks
First Block Course
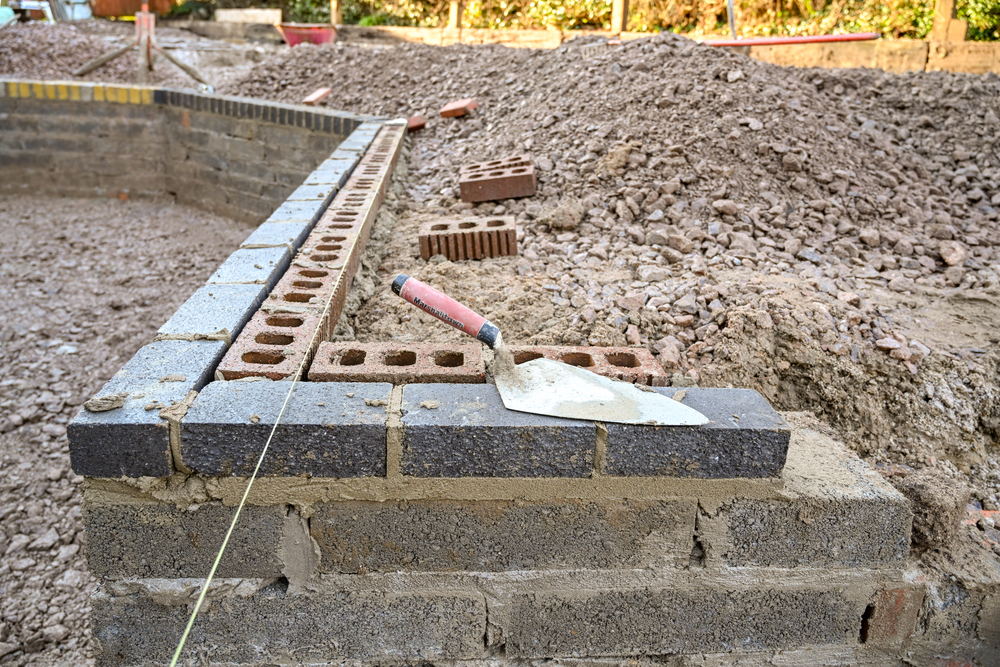
Your first retaining wall course needs to be level and plumb. This is important, as all other block material courses are set on top. This is easier when your footing is level and installed properly.
Continue Building
Now that you have the first layer in the rest is easy. Just add one block at a time and stagger the seems on the blocks.
Make sure the blocks sit snugly on the other blocks. Sometimes rocks and dirt will get in between them and mess up your nice level wall. Don’t let that happen. Use a broom to sweep the blocks thoroughly between rows.
Footer Drain
Drainage for your retaining wall is critical, as hydraulic pressure can cause a wall to fail. For walls of any size, landscape fabric is necessary to stop soil from washing through the wall and drainage lines. When and if this happens erosion above and behind the wall can create catastrophic failure.
Weep Holes
Weep holes in building exterior masonry walls (brick or stone) are a drainage system that is used in cavity wall or rain-screen wall construction methods to get rid of water that has penetrated the outer wall skin or surface.
Drainage
Most retaining walls are impervious, which means water cannot pass through the wall itself, efficient drainage is crucial. When drainage goes unaddressed hydrostatic pressure will build up behind the wall and cause damage such as bulging or cracking. There are a number of ways to ensure proper drainage of water from behind a retaining wall:
- First, is to make sure your landscaping contractor backfills at least a foot of space behind the wall with gravel.
- Second, is having a perforated pipe installed along the inside, or backfilled, bottom of the wall.
- Third, is to ask if weep holes will be needed to allow water to drain through the wall.
Gravel Backfill
Backfill simply refers to the soil directly behind the wall. For proper drainage, the first 12 inches of space behind a retaining wall should be filled with crushed stone or gravel. This is so that when water gets into the space, it does not become bogged down in soil but instead can flow down the wall to the drains or weep holes. Many designs allow for the top six inches of space behind a wall to be filled with native soil, so that the area can be used for planting.
Structural Fill
Soil compaction is most important for creating strength, but it also makes the dirt less permeable and reduces the ability of water to seep into the space behind the wall. The soil behind the layer of gravel backfill is the target for this step. Proper compaction involves the use of a plate compactor or similar tool, not just stomping on the soil with your boots.
Final Grading
Once the wall has reached the desired height, clean off the last course of block in preparation for the cap or coping to finalize the wall. This can be accomplished by brushing with broom or hosing off. Once units are dry and clean, use construction adhesive for a mechanical bond. Cap may be flush or overhanging as required by aesthetics and design.
You can now apply the final grading material. With this complete, you can add seed and straw or sod.
Inspection Approval
Make sure to get your final inspection approval. When this is complete, the building department will close out your permit.
Choosing the Right Materials for Your Retaining Wall
Selecting the appropriate materials for your retaining wall is crucial to ensuring its strength and longevity. The choice between plain concrete, reinforced concrete, or masonry footings depends on the soil’s load-bearing capacity and the wall’s height. Additionally, using high-quality retaining wall blocks and proper drainage materials like gravel and weep holes can prevent structural failures caused by water pressure. These considerations will help you build a durable and aesthetically pleasing retaining wall that enhances your property’s value.
How To Build A Retaining Wall – Recap
My FREE Gift
Summary

Dirt Connections was started with one goal in mind: providing quality residential and commercial construction services to clients on time and on budget. Reach out for more information on how we can support your next project.
For your convenience our estimates are free and by appointment. Call 703-940-9949 for a free estimate today!

