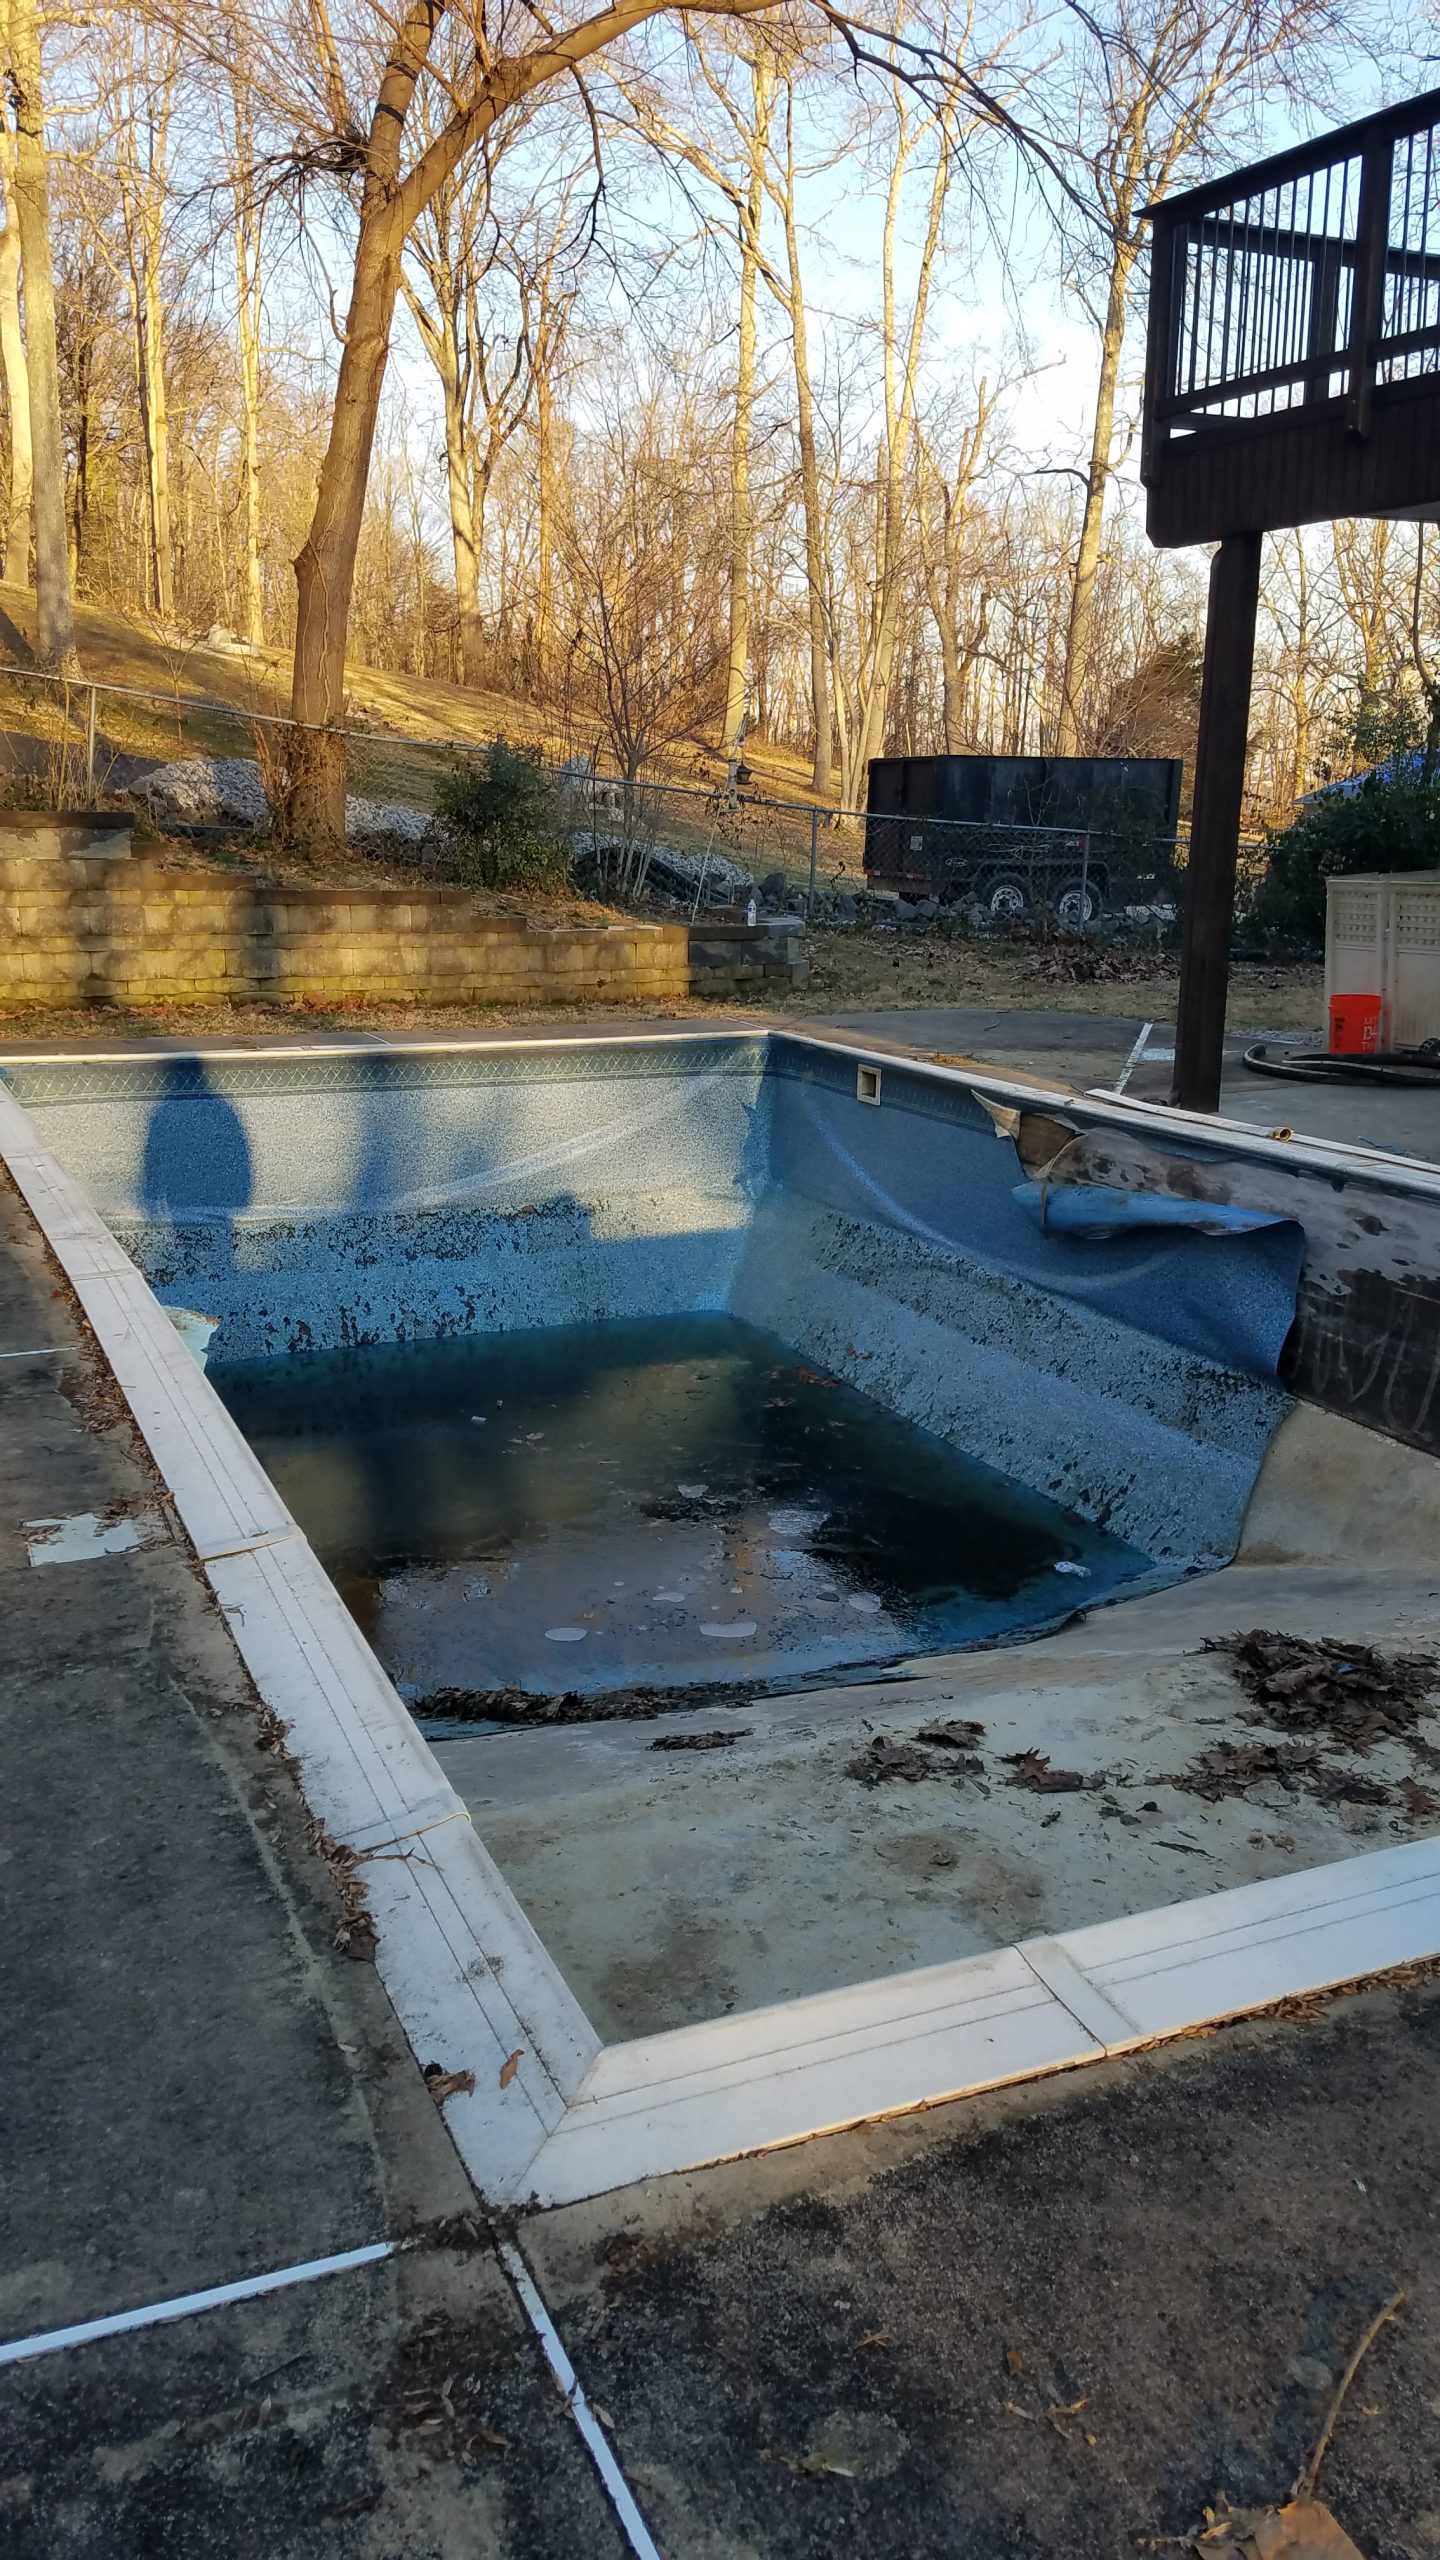
After careful consideration, you’ve decided to proceed with your inground pool removal project.
The inground pool removal guide below, will provide suggestions on how to select a contractor, the pool removal process, insurance & contractor licensing with new landscaping ideas for your lawn and backyard area.
Inground Pool Removal Why?
Owning a pool can seem great at first, but often begins to feel like more of a burden than a benefit. The inground pool cost can quickly add up, leading some to wonder whether it is a benefit to have at all, especially if the pool is unused. Fortunately, for those who find it too costly to maintain, pool removal is a possibility. Here is a breakdown of indoor pool costs, and the benefits of pool removal.
The Cost of Owning a Pool
On average, owning a swimming pool costs between $4,000 and $12,000 per year. Insurance alone will cost you an additional $25 per month on average. Your property taxes may increase by as much as 10%, too.
- Electricity
- Water Bill
- The Cost of Maintaining a Pool
Pool maintenance can cost between $80 and $150 per month, depending on the size of the pool and where you live. That adds up to as much as $1,800 per year in maintenance costs.
Common Pool Repairs
- Pump Motors
- Pool Filters
- Leaks Repairs
- Pool Liner Replacement
- Closing Pool Costs
- Opening Pool Costs
Pool Removal Contractor Selection
Congratulations, you’ve decided to move forward with you home remodeling project. Get ready tips for your pool removal estimate are listed below. The tips will help you prepare, organize, schedule a site inspection and review all estimates. The tips below are reasonable requests to any professional contractor. Move forward with confidence, knowing you are making reasonable requests of a professional contractor. The tips for inground pool removal below will empower you you to make the proper contractor selection for your project. I want to do, all I can to Help You. Helping You, helps our industry.
Contractor Abilities & Performance
Now let’s talk about the contractor. You need a true professional contractor. Your inground pool removal project, depends on it. To find a true professional contractor, let me make some suggestions. Work to select the professional contractor you need. Just be sure to find the contractor who can provide the work you need done. You want your pool removal project completed in a prompt, precise and professional manner. Check out their ability and get what you want. You want to do all you can and make the best decision for you.
Find Inground Pool Removal Contractors
Where can you find professional contractors? You can go to the Internet and search. You can go to the local pool and equipment supply house. Here the suppliers often provide a contractor board, where we can post our business cards. You can speak to the people at counter sales. Ask the people at the counter for recommendations. They have a good understanding who is a leader in the industry. The counter sales team know, who are the good pay contractors. Good pay contractors are important for your inground pool removal success.
No Response Contractors
With 10 – 12 contractor candidates, it’s time to make some calls for a site inspection. Some contractors will not respond. No response is okay, you want to get down to 3 – 6 solid estimates. Some contractors are busy, less professional or are not interested. Either way, that’s okay, you have a list. Your goal is to gather 3 – 6 well written inground pool removal estimates.
Site Inspection
Now you have to schedule your site inspections. This is where it’s gets personal. Your contractor candidate will now visit your home to discover your unique site conditions. Remember it’s your money. You want to spend your money with the contractor who provides the best service. Best service includes follow up phone calls, on time site inspection arrivals, communication update (phone, text & email) and overall presentation of the company and the person. Be sure to record who you felt comfortable with. Which contractor was kind? Who listened to you? Who understands your vision? These are just a few questions to ask yourself.
Peace Of Mind
Find the contractor who provides you with the peace of mind you deserve. The contractor, who is the active listener, takes notes and answers your questions, is a must have. At the conclusion of your site inspection, ask for a specific date for your estimate. Make sure you ask the contractor to include a copy of their contractor license and insurance.
Estimate Presentation
With the work you completed, you should have 3 – 6 inground pool removal estimates. Now sit down, in a quiet place and evaluate and compare each estimate. As you read each estimate, make sure the steps or results you want are outlined. I prefer a line item for each step of the remodeling project. Make sure, the contractor has a clear description of the scope of work. Estimates that are unclear and lack detail, get tossed immediately. The estimates that provide for a clear explanation of your project with a fixed price, move on to final contractor selection. With 3 – 6 home pool removal estimates, make one final request for references and photos of completed work.
Contractor Selection Decision
You are ready to make your pool removal contractor decision. By completing the work above, you can be sure to make a great decision. As the homeowner, you provided information of your expectations, you met with professionals, you received well written estimates with a fixed price, you have a copy of the license, insurance, references and photos. You can now select the contractor, who meets your criteria. Your time is now! Select the professional for your inground pool removal project with confidence.
Types of Insurance:
Commercial General Liability Insurance
Commercial general liability (CGL) is a type of insurance policy that provides coverage to a business for bodily injury, personal injury, and property damage caused by the business’ operations, products, or injury that occurs on the business’ premises.
Builders Risk Insurance
Protects a person’s or organization’s insurable interest in materials, fixtures and/or equipment being used in the construction or renovation.
Automobile Liability Insurance
If you have liability insurance, your insurance provider will cover costs for the driver’s damaged car, bodily injury minus your deductible, and up to your covered limit.
Contractors Pollution Insurance (CPL)
Today, most CPL policies include a separate first-party coverage to minimize the insured’s liability or impact on the environment. CPL is available to any type of contractor performing operations or conducting work. From environmental or remedial contractors to general and specialty trades, CPL has become a viable financing option for environmental loss providing insurance for large or even catastrophic loss scenarios at a reasonable premium.
Workers Compensation Insurance
Workers’ Compensation Insurance. Definition: Insurance that covers medical and rehabilitation costs and lost wages for employees injured at work; required by law in all states. Virginia Remodeling Contractor Insurance Requirements
Home Remodeling Insurance for Virginia
Insurance provides for protection to contractor clients. Contractors (a person or company) must have insurance in Virginia. The three basic types of insurance necessary for your protection in Virginia are: Commercial General Liability, Automobile Liability & Workers Compensation & Employers’ Liability Insurance
Commercial General Liability Insurance
General liability protects against physical injury to people or damage to property arising from your daily operations. Almost every business needs some form of general liability insurance. This protects company assets. Commercial general liability can help small businesses pay for unexpected lawsuits, sign deals with new clients, rent commercial space, and avoid bankruptcy. A Commercial General Liability (CGL) policy protects your business from financial loss should you be liable for property damage or personal and advertising injury caused by your services, business operations or your employees. It covers non-professional negligent acts. It protects you and your business. Independent contractors have the same legal obligations and liability exposures as larger firms. Damage to client property, bodily injury and harm or advertising injury can occur with independent contractors.
Automobile Liability Insurance
Auto liability insurance coverage helps cover the costs of the other driver’s property and bodily injuries. If you have liability insurance, your insurance provider will cover costs for the driver’s damaged car, minus your deductible, and up to your covered limit. Automobile liability insurance is financial protection for a driver. Financial protection is provided to the driver at fault. Automobile liability insurance only covers injuries or damages to third parties and their property, not to the driver or the driver’s property. The three primary automobile insurances are liability, collision, and comprehensive.
Workers’ Compensation Insurance
Workers’ comp does pay hospital and medical expenses that are necessary to diagnose and treat your job related injury. If unable to work, additional disability payments may apply. Typical payments are about two-thirds of your regular salary.
How to Check on Insurance
Get a copy of the home remodeling contractor’s insurance policy. If you like the contractor, don’t be shy, call the agent listed on the policy. Confirm the insurance policy is up to date. Take note of who you spoke to, date and time. Keep this information with your remodeling contractor’s estimate.
Certificate of Insurance
A certificate of insurance is a document used to provide information on specific insurance coverage. This certificate provides verification of the insurance. The certificate will include information of the types and limits of insurance coverage.
License
What is a Virginia Residential Contractor
Virginia “Residential building contractors” (Abbr: RBC) means those individuals whose contracts include construction, remodeling, repair, improvement, removal, or demolition on real property owned, controlled, or leased by another person of dwellings and townhouses, as defined in the USBC, including accessory buildings or structures on such property. The RBC classification does not provide for electrical, plumbing, HVAC, or gas fitting services and does not allow construction, repair, or improvement, to commercial, industrial, institutional, or governmental use structures outside of dwellings and townhouses as defined in the USBC. The residential building classification includes but is not limited to the functions carried out by the following specialties for contracts of dwellings and townhouses, as defined by the USBC, and related accessory use buildings or structures: Concrete contracting Masonry contracting Home improvement contracting Painting and wallcovering contracting Industrialized building contracting Roofing contracting Landscape service contracting Swimming pool
contracting http://www.dpor.virginia.gov/uploadedFiles/MainSite/Content/Boards/Contractors/A501-27REGS.pdf – Page 5
Pool Removal Process
Pool Removal Contractors Should Provide:
- Detailed Written Estimates with a Fixed Price
- Copy of Active Contractor License
- Copy of Up To Date Contractor Insurance
- References & Project Photos
Always Contact Ms. Utility / 811
What is Ms. Utility? Miss Utility is the organization that coordinates the marking of utility lines. The marking of utility lines is a FREE Service. This service is provided to prevent utility line damage by excavation or demolition work. The lines are marked with colored paint. Each utility line has an assigned paint color. It is important to understand what these marks mean. The APWA (American Public Works Association) has a uniform color code:
- RED – Electric Power Lines, Cables, Conduit, and Lighting Cables.
- YELLOW – Gas, Oil, Steam, Petroleum, or Gaseous Material.
- ORANGE – Communication, Alarm or Signal Lines, Cables, or Conduit.
- BLUE – Potable Water.
- GREEN – Sewers and Drain Lines.
- WHITE – Proposed Excavation Limits or Route.
How Long Does It Take To Mark Underground Utility Lines
In Virginia the “Miss Utility Law”, requires that Miss Utility be called 48 hours in advance of planned excavation work to allow time for marking, the marks be respected and protected, and that excavation be completed carefully.
In Maryland & Washington, DC everyone digging must give notice at least 2 full business days prior to the day they plan to start work. The day of the call is not counted as one of these days.
Dial 811
Calling 811 automatically routes you directly to the one call center in your area within the United States. Some states accept requests online from homeowners, contractors and other construction service providers.
Hand Digging
When all utilities lines are marked, you can hand dig within 24 inches on either side of the marks. If you are working parallel to utility lines, hand digging is allowed within 48 inches.
Avoid Fines & Repair Costs
Penalties for Violating the Miss Utility Laws include repair costs, and civil penalties up to $2,500 per violation as well as three times the actual repair cost of the damaged utilities, plus punitive damages up to $10,000 per incident.
Renew Your Markings
Utility line markings are generally good for two weeks. Keep Ms. Utility compliance in force until your excavation or demolition project are complete. Excavation damage can cause injury, loss of life and environmental damage. It also causes interruptions to vital services and can involve tremendous repair costs. Be sure to check your state laws for specific information.
Project Procedure
Process
The process outlined below illustrates the initial pool removal start.
- Mobilize to the site.
- Remove a section of fence for access on back side of the home.
- Disconnect swimming pool electrical and or gas appliances.
- Remove the swimming pool pump, pool mechanical equipment and pool heater.
- Pump water out of the existing pool.
- Provide concrete demolition to the very bottom of the existing pool for drainage and water flow.
- Invite your local inspector to the job site for your Backfill Pre-Inspection approval.
- Actual Pool Demolition
With the preliminary pool removal work complete, you can now move on to demolition. This is where heavy equipment is used to accomplish the tasks listed below. The tasks will require skill, precision and safety. Always use personal safety equipment. Personal protective equipment (PPE) is protective clothing, helmet, goggles and ear protection. This equipment is a must with construction demolition. This equipment protects the wearer’s body from injury and or infection.
- Demo existing concrete sidewalk surrounding the pool.
- Place demoed concrete sidewalk into existing pool opening.
- Demo concrete pool perimeter edge a minimum of 36 inches below top of coping/grade.
- Place demoed concrete edge material into existing pool area.
- Install geotextile fabric (stabilization sheet) for soil stabilization.
- Haul off pool pump, water filter system and other pool items.
Backfill Pool
- Provide for clean backfill and track material into remaining pool area.
- Tamp the backfill material every 10” – 12” material layer/lifts (placement of backfill material).
Final Grading & Clean Up
- Rough grade the entire pool removal project and disturbed project areas.
- Grade and level the pool removal project area to a uniform depth.
- Provide best possible drainage with existing grades (existing landscaping elevations).
- Sculpt and smooth out the land area for enhanced beauty.
- Aerate the top layer of the soil area (allows of seed germination).
- Apply seed and straw mat for new grass lawn or install grass sod (usually a more expensive option).
- Re-install existing fence.
- Pick up and haul away all project debris.
- Provide for final walk about and inspection.
- Collect any remaining project debris for a completed and great looking project.
Fill Dirt Delivery & Sales Work
As you read below, you will discover the 12 steps for a successful fill dirt delivery. The 12 steps below highlight the important dirt delivery procedures. Only a competent fill dirt material provider can provide a successful delivery. A reliable process to take fill dirt delivery orders allows for a smooth delivery process. Success with your material delivery is the objective. Understanding the delivery process empowers you for a successful fill dirt delivery. Read below the 12 steps for a successful fill dirt delivery and sales process.
Be On Guard
The procedure below illustrates the fill dirt delivery process. Your knowledge of the delivery process from the placing of your order to successful delivery is important. Listen for the request for information listed below. Failure by the service provider to ask or complete the basic tasks below, could spell disaster. If this occurs, please think twice about placing your fill dirt delivery order. Only order fill dirt materials from competent fill dirt providers. You do not need the aggravation with poor quality fill dirt materials & delivery service.
Fill Dirt, Topsoil Material Quality Check – Daily
Daily inspection of the material quality is a must. Inclement weather can affect the quality of the material. Rain and snow can make for poor fill dirt quality. Ask questions about the available material. The quality of the material needs to meet your expectations and standards. Proper material delivered to your property is key. You need to receive the fill dirt material you want.
Material Quantity Check – Daily
Material quantity is as important as quality. Don’t order fill dirt from a provider who is out of stock. You want to maintain consistency of fill dirt material for project delivery. You want a quality product and enough quantity on hand to order more. Knowing the fill dirt supplier has quality and quantity fill dirt material can give you confidence with your purchase. Confidence with your purchase allows you the peace of mind your deserve. Make your fill dirt material purchase from a professional fill dirt provider.
How To Take Your Fill Dirt Order
After placing your fill dirt order, customer service/dispatch will follow up with a phone call. The dispatch team will check Google Maps for additional delivery information. Dispatch wants to confirm your address and fill dirt type and delivery location. This is critical for your fill dirt delivery success.
Written Delivery Details
Fill dirt delivery details are written on your purchase order. Written details are written down for proper documentation and allow for a successful delivery of material, which is job one.
Delivery Details For Drivers
These delivery details written on your delivery order are made available to the driver and the dispatcher.
Additional Information For Fill Dirt Delivery Success
In the past customers have place an X marks on the grass with paint. Sometimes customers have posted a sign stapled to a wooden stake with the phrase “dirt here”. Customers have taken photos of grass painted with X’s or staked out signs and sent them to our dispatch team. We have received this information by text or by email. Additional delivery location information helps everyone. This can avoid the need for anyone to be on site at time of delivery.
Operations Manager
With the delivery details documented on your purchase order, we can speak with the Operations Manager. With the delivery details (photos, specific notes, days, time, location, etc.), we can make plans for delivery. The operations manager can now speak with the driver/drivers and will provide him/her with your unique delivery details. As a general rule, drivers are provided with of your fill dirt order information.
Dump Truck Inspections
The dump truck driver can now move on to his/her pre-trip dump truck inspection procedure. The pre-trip truck inspection includes, oil fluid check, fuel level check, brakes, lights, tarp, tires, hydraulic fluid, bleeding of the all the air lines, to mention a just a few. Truck inspections are done daily and allow for a safe fill dirt delivery. Inspected trucks are a must for you and our community.
Dump Truck Off Loading
Drivers now have your paperwork and have completed their dump truck inspection. The driver can now move to the loading area. The driver presents your paperwork to the loader operator. The loader operator now loads the dump truck with the correct type and quantity of ordered fill dirt material.
Driver Departure Check
The driver checks the loaded material and extends the tarp over the truck bed. The dump truck tarp secures the material from the wind. With this procedure complete, the driver can walk around the truck and broom off any loose material. The driver is now free to move off site and begin his journey to your property location.
Delivery Arrival
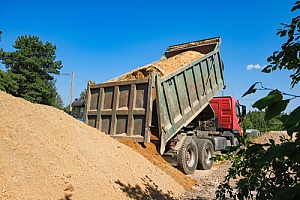
The driver now proceeds to your location, knowing your address, location for material placement and quantity to be delivered. When the driver arrives at your location, he/she will check for tree branches, wires & any overhead obstructions. The driver will double check the address and can now back into the driveway with your fill dirt material. As the driver begins to raise the dump bed, he/she will double check for overhead obstructions. With the successful off loading of your fill dirt material, the driver will lower the bed.
Clean the Dump Truck & Return
The driver can now secure the truck with it’s air brakes. The driver dismounts and can walk around the truck and broom off any and all loose fill dirt from the truck bed. With a clean and empty dump truck, the driver can now return to the loading location. On the return back, the driver knows he has completed successful fill dirt delivery. For a proven delivery process order your fill dirt today contact Dirt Connections.
Information For Your Benefit
The procedure listed above is for your benefit. The list allows you to know what is takes for a successful delivery. You need to feel confident with who you are dealing with. Confidence with the fill dirt material provider is key. Confidence with your material supplier will give you the peace of mind you deserve. For a successful fill dirt delivery contact Dirt Connections, Right Here, Right Now.
6 Landscaping Options
- Landscaping Ideas for Small Backyards in 2020
- Home Improvements After A Pool Removal
- How to Build an Outdoor Fireplace in Your Backyard
- Build a Bench Around a Tree
- New Ground Level Deck
- Best Landscaping Ideas After Your Inground Pool Removal
Preparing Your Yard After Pool Removal
Once your pool is removed, preparing your yard is crucial. Start by leveling the area where the pool once was. Use quality fill dirt to fill in the space. For best results, choose dirt that compacts well and blends with your existing soil. This helps prevent future settling and ensures a smooth surface. Next, consider adding topsoil and grass seed to restore the area. By doing this, you’ll have a lush, green lawn where your pool used to be. Ensure proper grading to avoid water pooling. For more tips on filling in pool holes and maintaining your lawn, check out our other resources.
Summary

The Dirt Connections Team, can provide you with a licensed and insured contractor. We manage in excess of 300 dump trucks daily. Dirt Connections, provides for inground swimming pool removal, dump truck hauling, fill dirt & topsoil delivery and additional heavy construction services. We are licensed and insured to provide services in Washington, DC, Maryland & Virginia. If you have any questions, please send us an email at info@dirtconnections.com.


