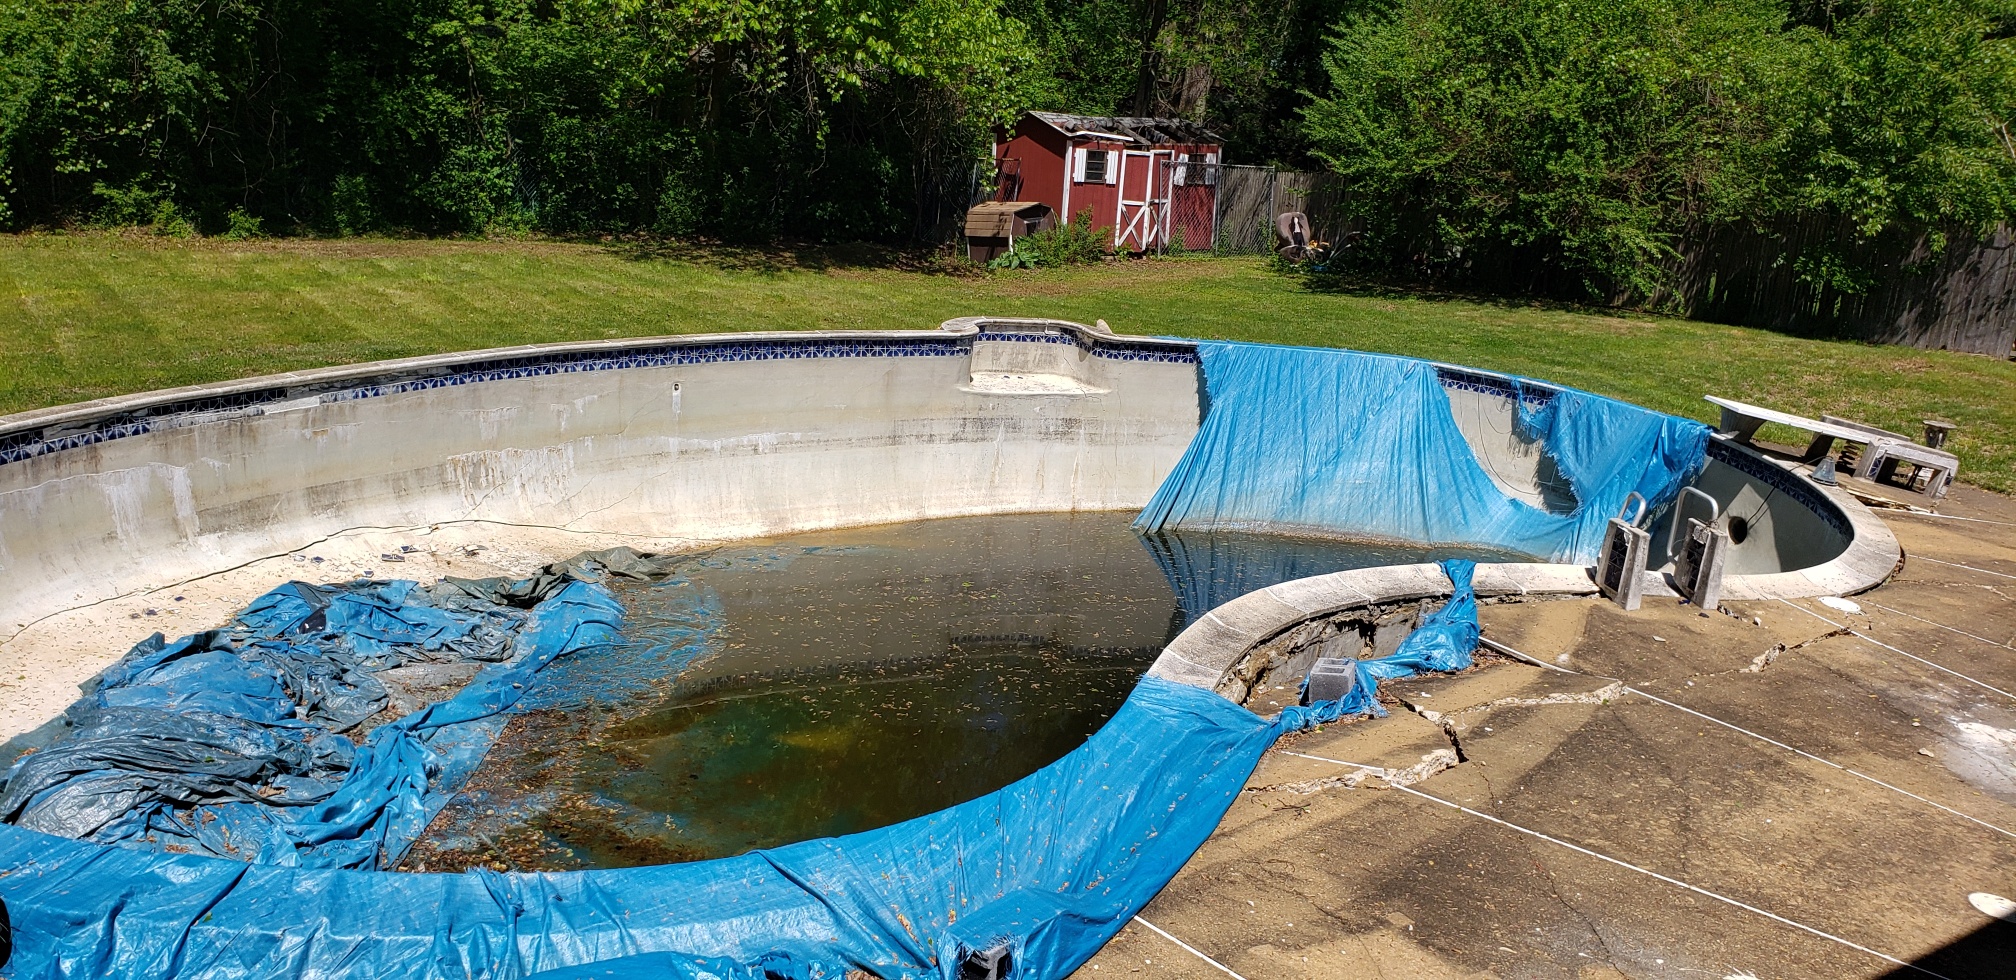
Below are the six steps for a successful pool removal project. As you read you will discover where to find a great professional contractor, the importance of contacting Ms. Utility and the pool removal process. The more you know more about the pool removal process, the better off you will be.
1. Contractor Selection
 Now let’s talk about the contractor. You need a true professional contractor. Your successful pool removal project, depends on it. To find a true professional pool removal contractor, let me make some suggestions. Work to find the best professional pool removal contractor you need. If you want a successful pool removal, get a pool removal contractor. You want your pool removal project completed in a prompt, precise and professional manner. Your job, is to check out their ability and get what you want. You want to do all you can and make the best decision for you.
Where To Find Pool Removal Contractors:
Pool Supply House
You will find counter sales representatives that can provide you with referrals of qualified contractors.
Local Building Department
Your local building department can usually provide you with in-house resources to find licensed and experienced demolition contractors.
Internet
By writing “pool removal” into your internet browser you can find a list of contractors who perform pool removal services.
Referral
Check with any neighbors who have had a pool removed.
Local Papers
Search for pool removal services with your local area newspaper. You can find additional interesting information about your local contractor service providers.
Pool Removal Contractors Should Provide:
- Detailed written estimates with a fixed price
- Copy of active contractor license
- Copy of up-to-date contractor insurance
- References & project photos
2. Before You Start – Contact Ms. Utility / Call 811
 What is Ms. Utility? Miss Utility is the organization that coordinates the marking of utility lines. The marking of utility lines is a FREE Service. This service is provided to prevent utility line damage by excavation or demolition work. The lines are marked with colored paint. Each utility line has an assigned paint color. It is important to understand what these marks mean. The APWA (American Public Works Association) has a uniform color code:
- RED – Electric Power Lines, Cables, Conduit, and Lighting Cables.
- YELLOW – Gas, Oil, Steam, Petroleum, or Gaseous Material.
- ORANGE – Communication, Alarm or Signal Lines, Cables, or Conduit.
- BLUE – Potable Water.
- GREEN – Sewers and Drain Lines.
- WHITE – Proposed Excavation Limits or Route.
How Long Does It Take?
In Virginia the “Miss Utility Law”, requires that Miss Utility be called 48 hours in advance of planned excavation work to allow time for marking, the marks be respected and protected, and that excavation be completed carefully.
In Maryland & Washington, DC everyone digging must give notice at least 2 full business days prior to the day they plan to start work. The day of the call is not counted as one of these days.
Dial 811
Calling 811 automatically routes you directly to the one call center in your area within the United States. Some states accept requests online from homeowners, contractors and other construction service providers.
Hand Digging
Once you know that all of the utilities in the area of your project are marked, hand dig within 24 inches on either side of the marks to find the utility if your work will cross the utility line. If you are working parallel (alongside) the utility but not crossing it, hand dig at reasonable distances (48 inches) along the path of your project to make sure that the utility does not change direction and come into your project area.
Avoid Fines & Repair Costs
Penalties for Violating the Miss Utility Laws include repair costs, and civil penalties up to $2,500 per violation as well as three times the actual repair cost of the damaged utilities, plus punitive damages up to $10,000 per incident.
Renew Your Markings
Utility line markings are generally good for two weeks. Keep Ms. Utility compliance in force until your excavation or demolition project are complete. Excavation damage can cause injury, loss of life and environmental damage. It also causes interruptions to vital services and can involve tremendous repair costs. Be sure to check your state laws for specific information.
3. Project Start
 The process outlined below illustrates the initial pool removal start.
- Mobilize to the site.
- Remove a section of fence for access on back side of the home.
- Disconnect swimming pool electrical and or gas appliances.
- Remove the swimming pool pump, pool mechanical equipment and pool heater.
- Pump water out of the existing pool.
- Provide concrete demolition to the very bottom of the existing pool for drainage and water flow.
- Invite your local inspector to the job site for your Backfill Pre-Inspection approval.
4. Pool Demolition
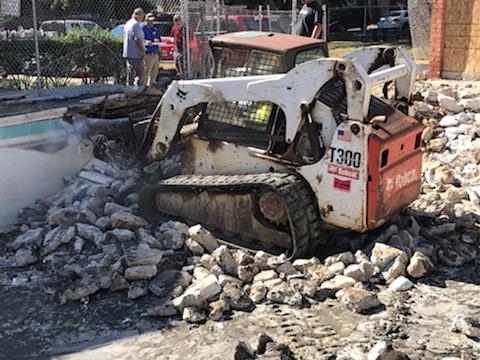
 With the preliminary pool removal work complete, you can now move on to demolition. This is where heavy equipment is used to accomplish the tasks listed below. The tasks will require skill, precision and safety. When using heavy equipment be sure to use personal safety equipment. Personal protective equipment (PPE) is protective clothing, helmet, goggles and ear protection. This equipment is a must with construction demolition. This equipment protects the wearer’s body from injury and or infection. Personal safety equipment is a must for all construction projects, especially pool removal projects.
- Demo existing concrete sidewalk surrounding the pool.
- Place demoed concrete sidewalk into existing pool opening.
- Demo concrete pool perimeter edge a minimum of 36 inches below top of coping/grade.
- Place demoed concrete edge material into existing pool area.
- Install geotextile fabric (stabilization sheet) for soil stabilization.
- Haul off pool pump, water filter system and other pool items.
5. Backfill Pool
 Backfilling the pool involves filling up the area with dirt and ensuring it is able to support vegetation just as well as it did pre-pool.
- Provide for clean backfill and track material into remaining pool area.
- Tamp the backfill material every 10” – 12” material layer/lifts (placement of backfill material).
6. Final Grading & Clean Up
Lastly, ensure the land where the pool once was is returned to normal.
- Rough grade the entire pool removal project and disturbed project areas.
- Grade and level the pool removal project area to a uniform depth.
- Provide best possible drainage with existing grades (existing landscaping elevations).
- Sculpt and smooth out the land area for enhanced beauty.
- Aerate the top layer of the soil area (allows of seed germination).
- Apply seed and straw mat for new grass lawn or install grass sod (usually a more expensive option).
- Re-install existing fence.
- Pick up and haul away all project debris.
- Provide for final walk about and inspection.
- Collect any remaining project debris for a completed and great looking project.
Ensuring a Smooth Pool Removal
To ensure a successful pool removal project, follow these essential steps. Start by hiring a licensed and insured contractor for reliable service. Contact Ms. Utility by dialing 811 to mark utility lines and avoid costly repairs. During the removal, use proper personal protective equipment (PPE) for safety. Complete the backfill with clean material and tamp it well to support future vegetation. Finally, perform final grading, and consider seeding or laying sod for a neat finish.
Speak With Dirt Connections For More Information
 Pick a great pool removal contractor who has an active license with insurance that is up to date. Before you start, Call Ms. Utility / 811. Work through the pool removal process. Be sure to use your personal protective equipment (PPE). Smooth out the pool removal project soil area (grade & level). Aerate/lightly rake the top of the soil area. Apply seed and straw mat or sod. The 7 Steps for a Successful Pool Removal Project are Now Complete.


